
Introduction:
Content Management Systems (CMS) is an application which is used to manage website content via a graphical dashboard, thereby facilitating minimal working with programming languages. WordPress is a free and open source CMS based on PHP and MySQL.
It is a light-weight script that has many plugins and themes, giving users a wide range of options for website development. It is also known for its ease of installation. The best WordPress hosting companies either auto – install WordPress or do it in few clicks.
By using WordPress, a blog can be created in only one minute. To know more, read the blog – How to set up a blog on WordPress.
In this article, we will mainly focus on how to install WordPress in Ubuntu.
So, let’s start with the process of installation of WordPress in Ubuntu:
- Installing the web server:
Web server is the front end which we use to serve web pages on a web browser. We will install the Apache2 as webserver on our server.
# apt-get install apache2
And start the Apache with this command:
# service apache2 start
Apache web server listens on port 80 by default, so we will allow this in our firewall. Run the command below:
# iptables -A INPUT -p tcp –dport 80 -j ACCEPT
# service iptables save
# service iptables restart
# service apache2 restart
Once the service is set up, you will be able to see an Apache default page when you browse your IP address in a browser.
- Setting up MySQL service:
MySQL is the database which will be used to store our data. Another option is use Maria DB. But since we have chosen MySQL, we will proceed with the installation as below:
# apt-get install mysql-server mysql-client
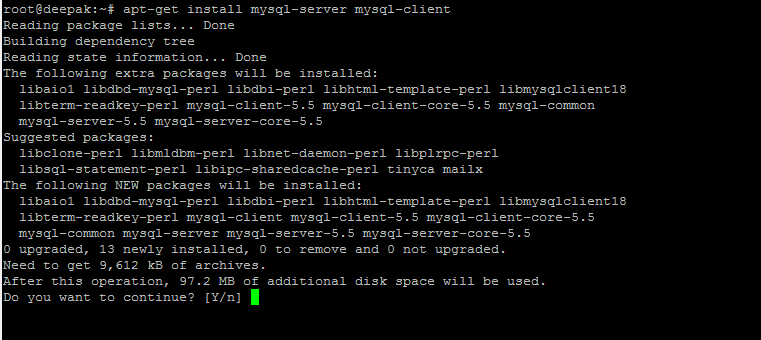
While this installation proceeds, a popup will appear to set up the password for the MySQL ‘root’ users. Enter the MySQL password in it.

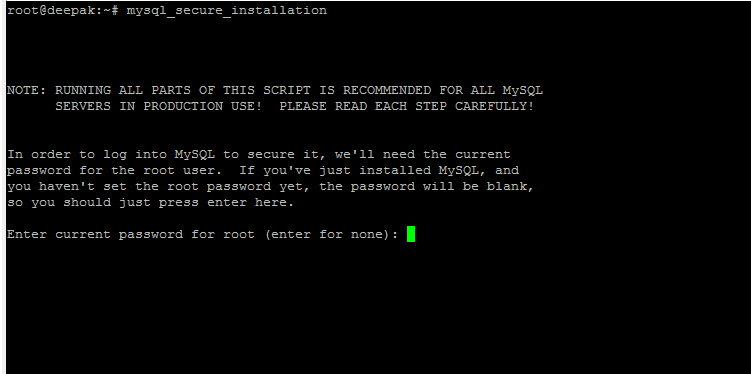
Setup MySQL: Run the below command for setting up MySQL for WordPress.
# mysql_secure_installation
Enter all the below details while configuring it:
- Enter existing password for root (enter for none): Type the root password.
- Change the root password? Type N. If you want to change, press Y and enter the new password.
- Remove anonymous users? Type Y.
- Disallow root login remotely? Type Y.
- Remove test database and access to it? Type Y.
- Reload privilege tables now? Type Y.

MySQL setup is done.
Now we have to create database and a database user with all privileges which will be used in WordPress.
We need a database user who can access or modify the database and for security reasons, we set a password for it.
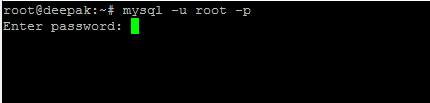
For creating a database and user, we have to enter in MySQL. For this, we will use the below command:
# mysql -u root -p
Then, enter the current password for MySQL.
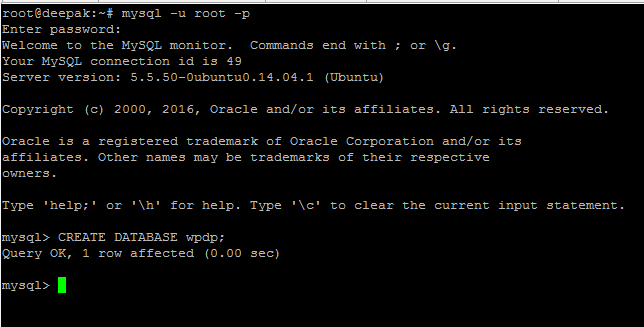
Now, run the commands below to create a new database called wpdp.
# CREATE DATABASE wpdp;
Now, we will create a database user with a password. Database user will be wpusr:
# CREATE USER wpusr@localhost IDENTIFIED BY ‘new_password_here’;

Now, assign all the privileges to database user “wpusr” for database “wpdp“.

# GRANT ALL ON wpdp.* to wpusr@localhost;
It’s time to exit MySQL, which can be done with the below command:
# exit
Now that we have completed the Apache and MySQL configurations, we will move on to configuring the PHP modules for WordPress.
- Install PHP and its modules with below command:# apt-get install php5 libapache2-mod-php5 php5-mysql php5-curl php5-gd php5-intl php-pear php5-imagick php5-imap php5-mcrypt php5-memcache php5-ming php5-ps php5-pspell php5-recode php5-sqlite php5-tidy php5-xmlrpc php5-xsl
After installing all the above servers and packages, Ubuntu server is now ready to host WordPress.
Now download and configure WordPress system on Ubuntu.
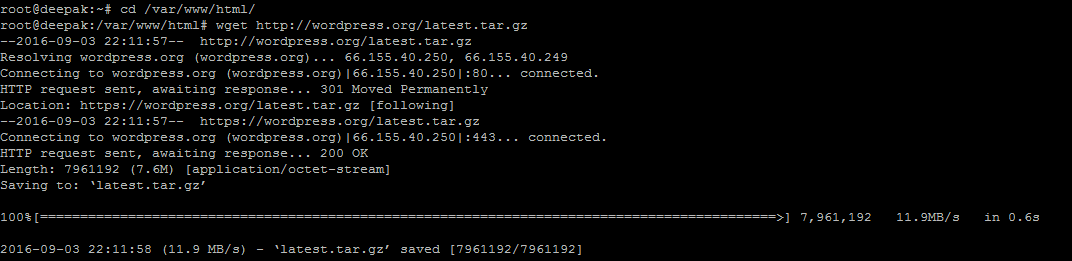
- Download the WordPress in /var/www/html/ and extract it:# cd /var/www/html/
# wget http://wordpress.org/latest.tar.gz
# tar -xvzf latest.tar.gz
# cd wordpress/
# cp -rf * /var/www/html

Now, we will edit the wp-config.php to modify the database connectivity.

And set the permission to /var/www/html
# chown -R www-data:www-data /var/www/html/
# chmod -R 755 /var/www/html/
- This is the last step to configure WordPress. Now browse the server IP or hostname:
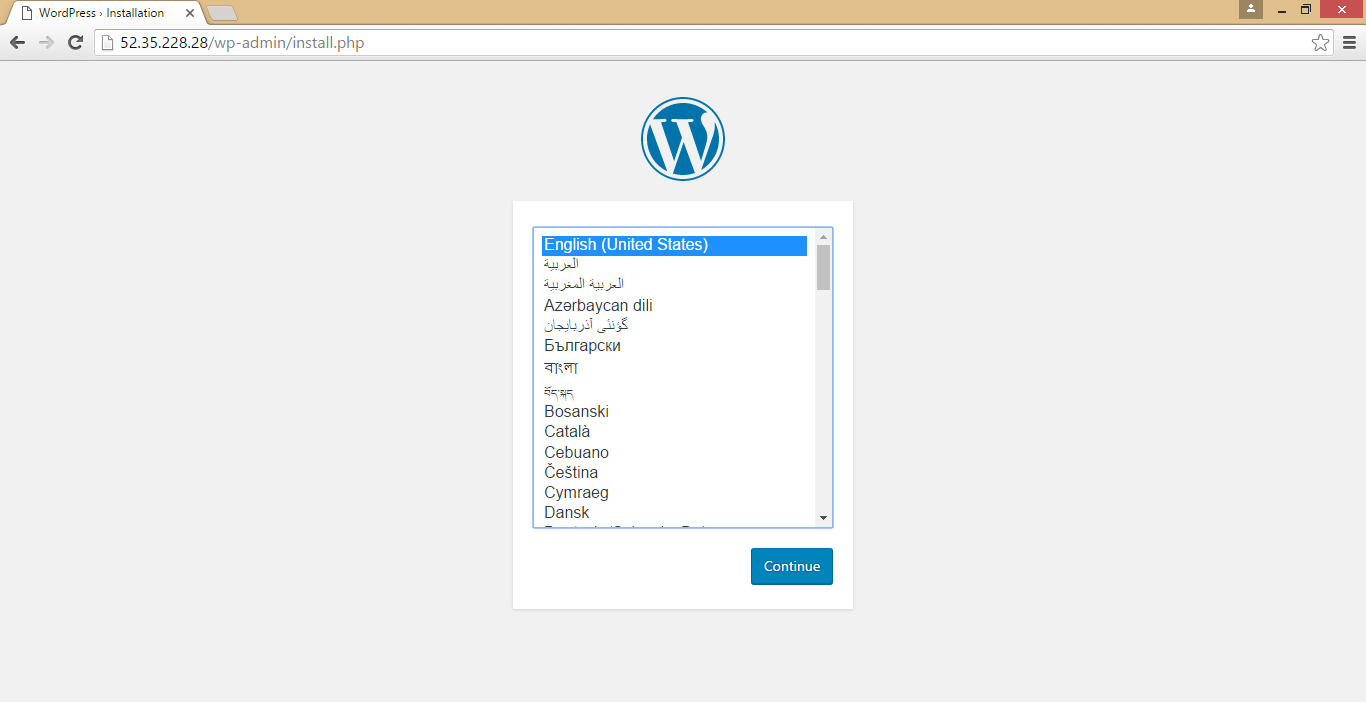
Select the language which you want and click on “Continue”.
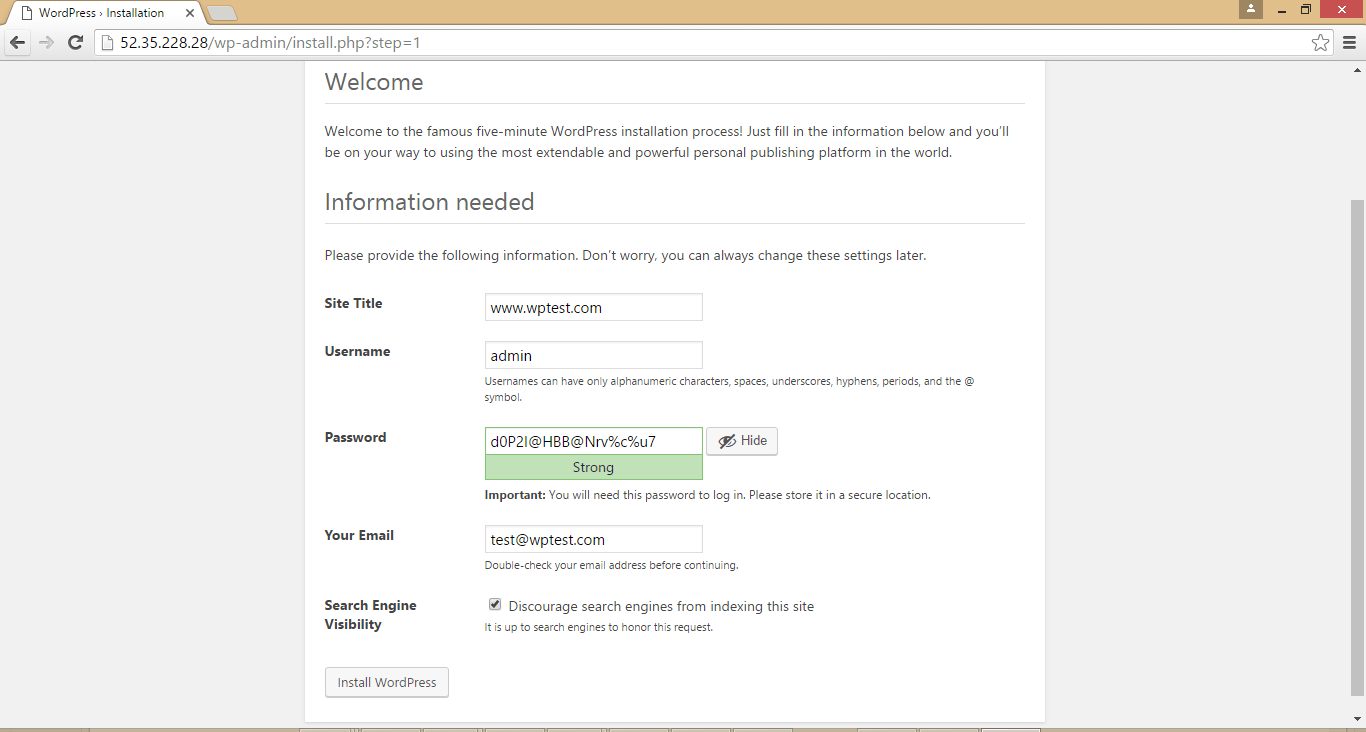
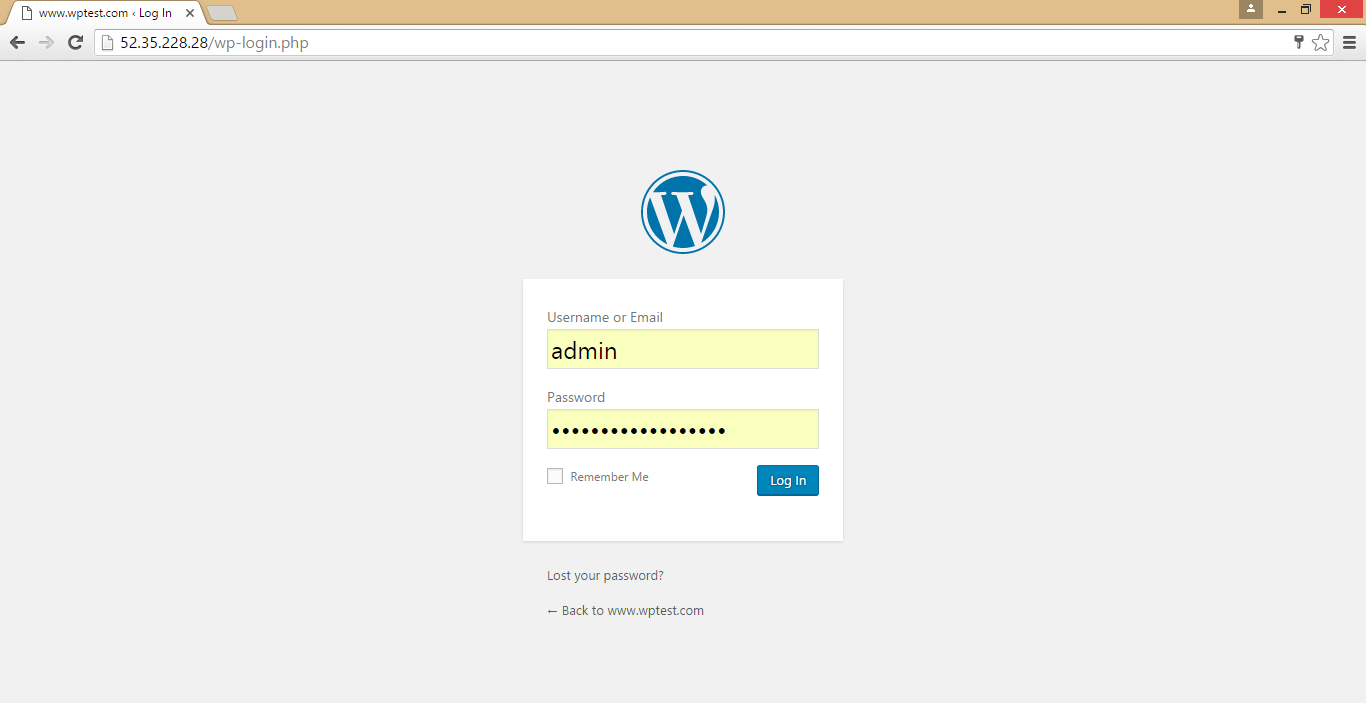
Now enter all the details and you must save the password, as it will be used for logging in to WordPress admin dashboard.
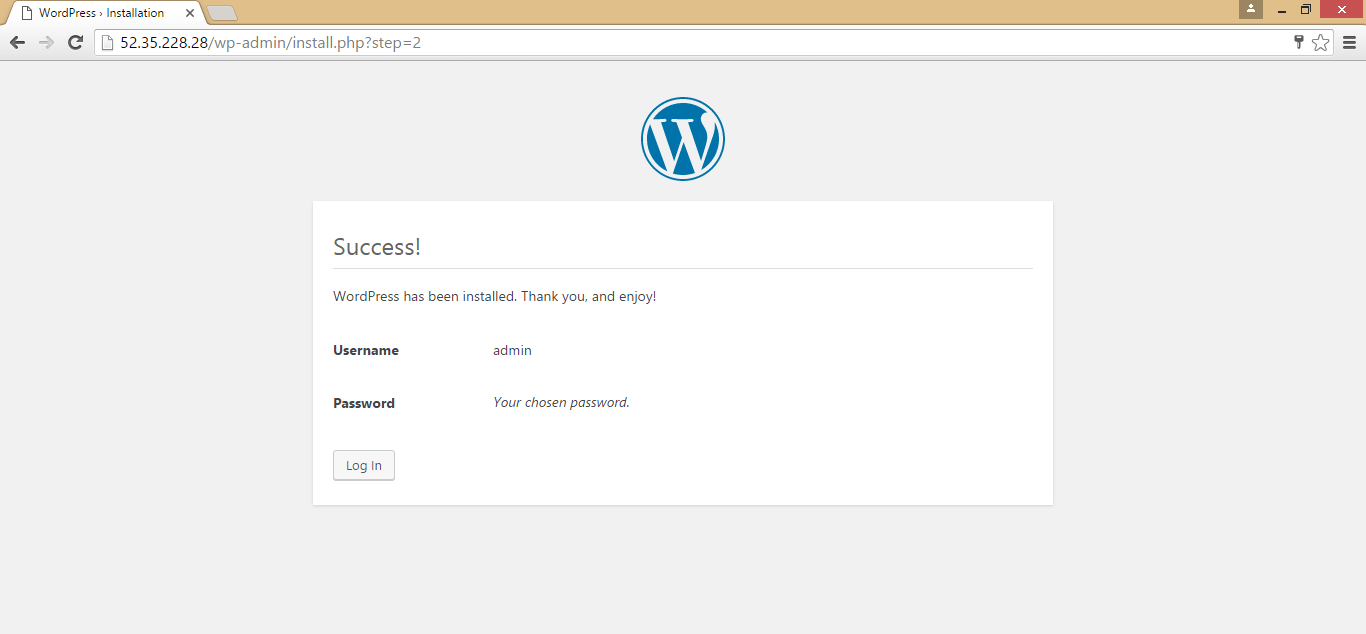
WordPress installation has been completed. Click on “Log In” for logging in to the dashboard.
If you face any issue while installation, let me know through the comment section below. I will be happy to help 🙂
Services ZNetLive offer:
