
Several websites now-a-days are developed in Tomcat (JSP), with it being a widely used, open source, simple and agile web container used by Java developers. A multitude of hosting companies provide Tomcat support with Plesk panel as cPanel has removed this feature in its latest versions. Plesk panel makes management of Tomcat websites easier via graphical representation. Tomcat module supports deploying and managing Tomcat web applications, allowing users to set up hosting with JSP support.
System Requirements:
- You need a VPS or Dedicated Linux server with Plesk, as some hosting providers don’t allow Tomcat on shared or reseller servers.
- You need to have Shell Access as many hosting providers do not permit it on shared or reseller servers.
- MySQL: mysql5.5 or later version.
- Plesk Version: Plesk 10 or later version.
- Tomcat should be installed in Plesk.
- Port 9080 must be enabled.
Installation or setting up of Tomcat:
First of all, we have to verify whether the tomcat support is enabled in Plesk panel or not. We can check it from Plesk panel via the steps given below:
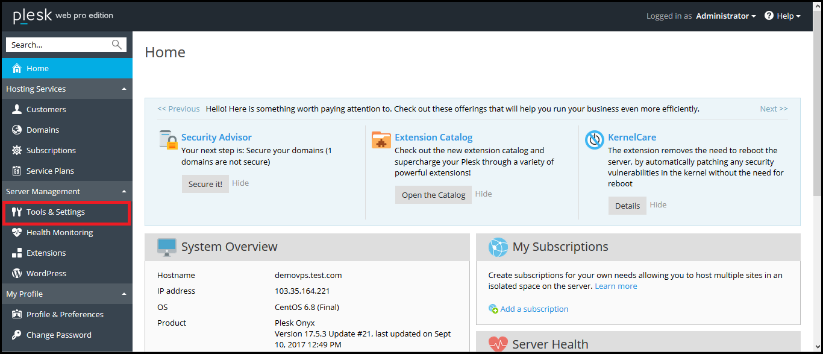
- Login to Plesk panel with admin user credentials.
- Go to Tools & Settings >> Server Component.
- Search for “Tomcat” and check
If the tomcat service is not installed, follow the steps given below:
- Login to Plesk panel with admin user credentials.

- Go to Tools & Settings >> Updates and Upgrades.
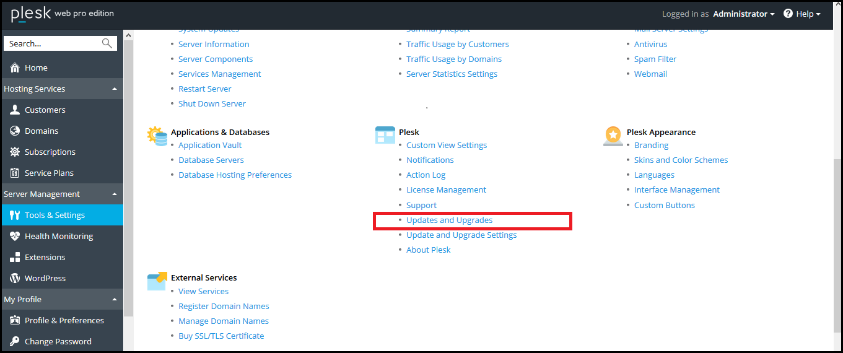
- Client on “Add/Remove Components” to install component. Then select the “Support for Tomcat Java Servlets” and continue.


Tomcat setup is now complete!
Installation of WAR file in Plesk:
Next, we need to deploy WAR (Web Application Resource or Web Application Archive) file in Plesk.
For that, follow the steps given below:
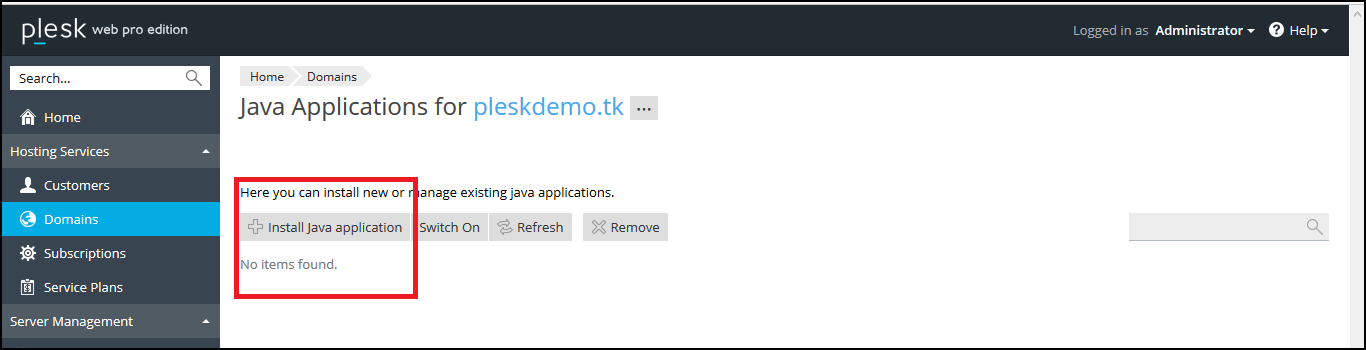
- Go to Plesk > Subscriptions > Websites & Domains > Domain Name > Java Applications.

- Click on “Install Java Application” to deploy WAR file. Choose some WAR-file (or choose sample.war from the attachments) and press OK.
- Wait for some time for the WAR file to be uploaded.
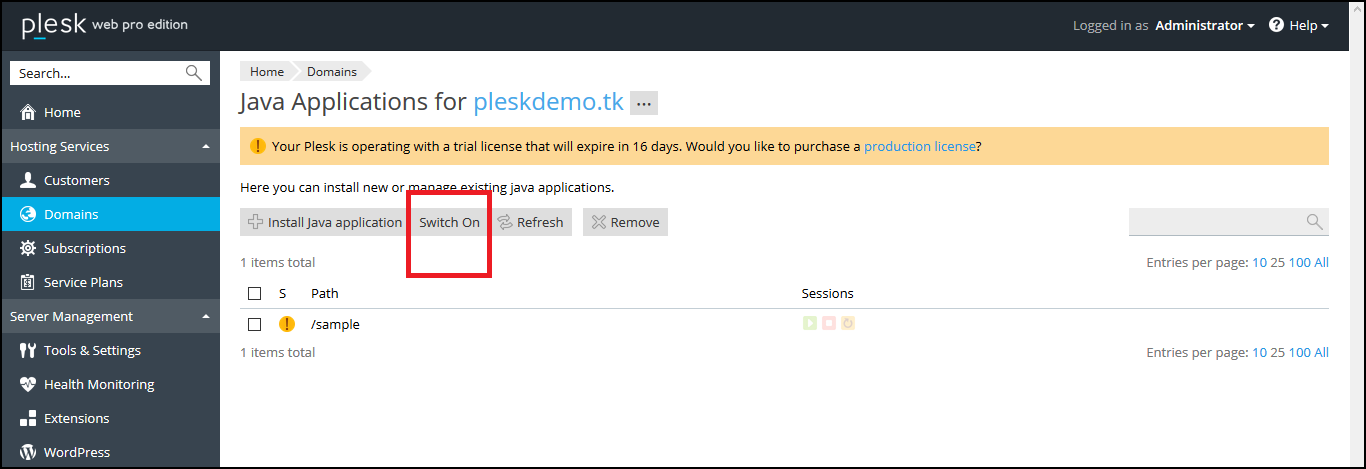
- Now you can see the uploaded WAR in application.
- Press Switch On.
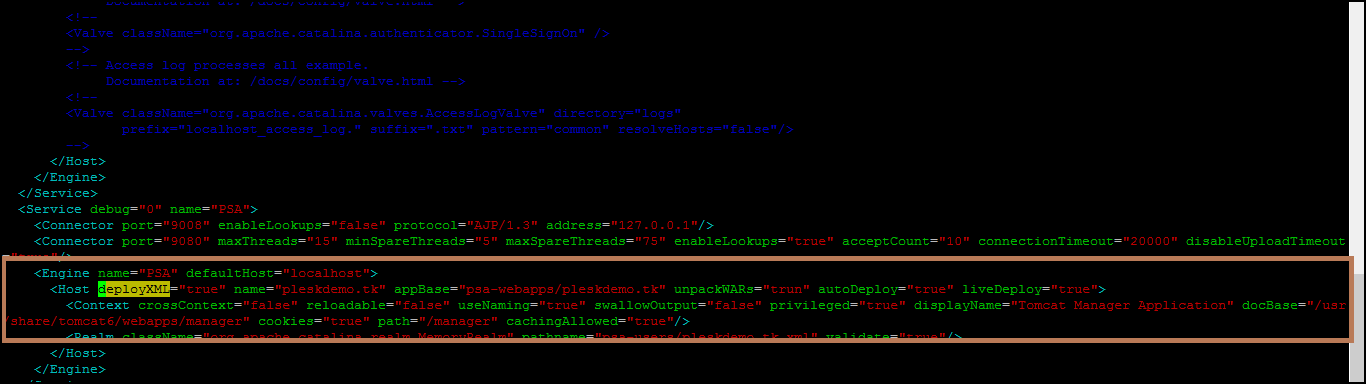
- Now login to the server via shell access and edit the ‘unpackWARs’ directive in the ‘/etc/tomcat6/server.xml’ file as shown below:
Note: I have used CentOS6 so its showing Tomcat6 for configuration location.
[BEFORE]
<Host deployXML=”true” name=”pleskdemo.tk” appBase=”psa-webapps/example.tld” unpackWARs=”false” autoDeploy=”true” liveDeploy=”true”>
[AFTER]
<Host deployXML=”true” name=”pleskdemo.tk” appBase=”psa-webapps/example.tld” unpackWARs=”true” autoDeploy=”true” liveDeploy=”true”>
- Restart the tomcat service with below command:
# service tomcat6 restart
- Set 557 permissions to the folder “/usr/share/tomcat/psa-webapps/pleskdemo.tk/
- # chmod 557 /usr/share/tomcat/psa-webapps/pleskdemo.tk/
![]()
Now restart the tomcat service.
# service tomcat6 restart.
- Make sure that the corresponding folder “sample”(name of war file) was created in the ‘//usr/share/tomcat6/psa-webapps/pleskdemo.tk/’ folder as a result of extracting from the “sample.war” file:
# ls -la /usr/share/tomcat6/psa-webapps/pleskdemo.tk/
If corresponding folder is not created, it means there was some error with the deployment, so check the complete procedure again.
You can verify it from below URL:
==========================
http://pleskdemo.tk:9080/sample/
==========================
Now we need to forward port 9080 to port 80 to run the domain as: http://pleskdemo.tk/
- Create an index.php under your httpdocs and use the below code:
=================
<html>
<head>
<title>PLESK DEMO</title>
<meta name=”description” content=”Description”>
<meta name=”keywords” content=”PLESKEMO”>
</head>
<frameset rows=”100%,0″ border=”0″>
<frame src=”http://pleskdemo.tk:9080/sample/” frameborder=”0″>
<frame frameborder=”0″>
</frameset>
</html>

And you are done. 🙂
If you have a query or any feedback about this article, please let me know by putting it in the comments section below. I’ll be happy to reply.
Services ZNetLive offer:

